[CCP14 Home: (Frames | No Frames)]
CCP14 Mirrors: [UK] | [CA] | [US] | [AU]

(This Webpage Page in No Frames Mode)

CCP14

Tutorials and Examples

MarchingCube 3D Fourier Contour Electron Density Map Display Software for Windows by Michal Husak

Screendumps showing some of the functionality of MarchingCubes

The CCP14 Homepage is at http://www.ccp14.ac.uk

[Tutorials page] | [Back to: Marching Cubes Tutorials]

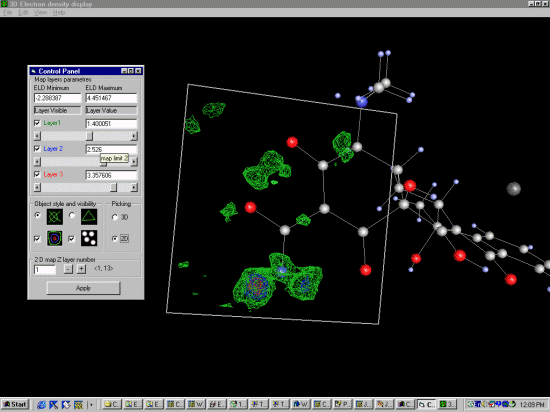
  • Open a Crystals or WinGX mt1 or fou file and display the 3D Fourier Contour Map.


  • Use click and drag on the Fourier Map box to rotate around the 3D Fourier Contour Map


  • Different types of hatching can be used. Atoms displayed, not displayed.


  • Cut off values for the different contour levels are easy to apply with the slide bars.


  • From the top menu bar, use the File menu option to open new files, save peaks or save to a Povray file prior to rasterising the image.

    The following image is from the Marching Cubes website.


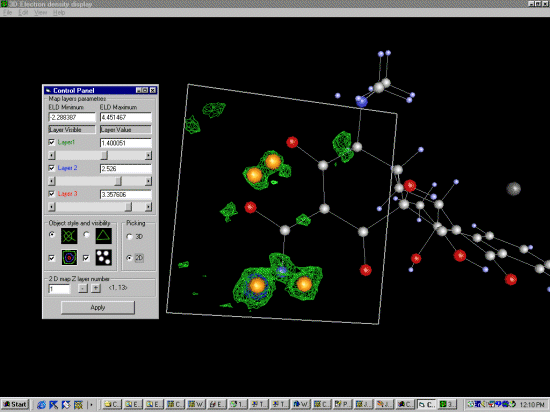
  • While in 2D or 3D mode, use the right mouse button to point and click on peaks that you wish to make into atoms to put into Crystals (or WinGX). In this case, selecting hydrogen positions manually from a difference map.

    (Note from Michal Husak: "I have read your tutorial on CCP14 WWW. According the picking - it works in both 2D and 3D modes. In 2D mode, you pick the 2D map only. In 3D mode, you can pick an 3D map. Only 1 map could be active for 3D picking mode (to identify what layer do you want to pick). The CRYSTALS pre set parameter are made for 2D map parameters only. Better setting in CRYSTALS is an map of 6x6 A, step is O.K. 0.25, more section (8) on each side give better 3D results.")

  • 1. Put in 2D mode.

  • 2. Select peaks by using the right mouse button

[Tutorials page] | [Back to: Marching Cubes Tutorials]

[CCP14 Home: (Frames | No Frames)]
CCP14 Mirrors: [UK] | [CA] | [US] | [AU]

(This Webpage Page in No Frames Mode)

If you have any queries or comments, please feel free to contact the CCP14