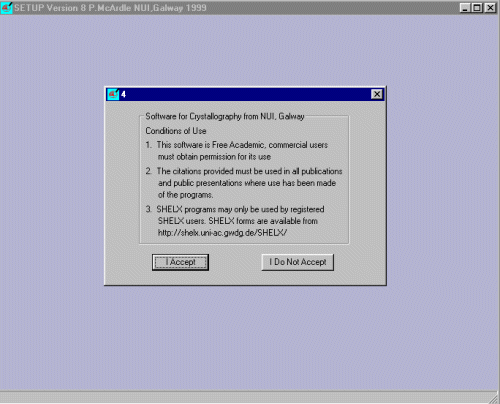
Run (the now extracted) setup program to install ORTEX which will give the following screen showing the conditions of use.

|
The following install will be done from the "all in one"
install file available from the ORTEX web site and its mirrors.
Download the zaoscail.exe install file via the download page and put into a temporary directory such as c:\temp
|
|
Run zaoscail.exe (which is a self extracting zip archive file)
and select unzip to extract the installation files to a
temporary directory (e.g., c:\temp\ortex).
Run (the now extracted) setup program to install ORTEX which will give the following screen showing the conditions of use.
|
|
Agree (and comply!) with the conditions of use and continue.
ORTEX now prompts you for the drive you wish to install into. The default
is c: drive.
|
|
Ortex will then create the directories and install the relevant files.
If you installed into C: drive, the directories created would be:
It does not hurt to view the installation information. Then manually add an Oscail shortcut to your Windows Desktop or Program Folder (the Oscail executable resides in the c:\exe directory; if you installed in C: drive). DONE! |